Tuesday, September 22, 2015

Small Town Love | Port Perry Chili Cook-Off


One of the perks of living in small town is the many "festivals" or celebrations organized for the entire community. We always find something to celebrate that people come to. Last Sunday, hubby and I went to the Chili cook-off in downtown Port Perry where local restaurants presented their special chili recipes. Patrons {young and old, boys and girls, meat-lovers and vegan too} lined up in various tents to sample various flavours of chili. I saw chocolate-chipotle chili, beer-flavoured chili, authentic Mexican chili, and vegan-friendly chili among others.


Aside from chili, there is something for everyone : buskers, animal petting tent, street shopping and pumpkin painting.


Fall bouquets, canned goodies, mums and pumpkins are everywhere! One this is sure ... Fall is just around the corner!


Cheers!


Monday, September 21, 2015

MY Lens; HIS Words Monday


MY Lens :
Along the rural road on the way home. Blackstock, Ontario

HIS Words :
John 10:27
"My sheep listen to my voice; I know them, and they follow me."


Thursday, September 17, 2015

From Harvest To Table | Basil and Garlic Tomato Sauce


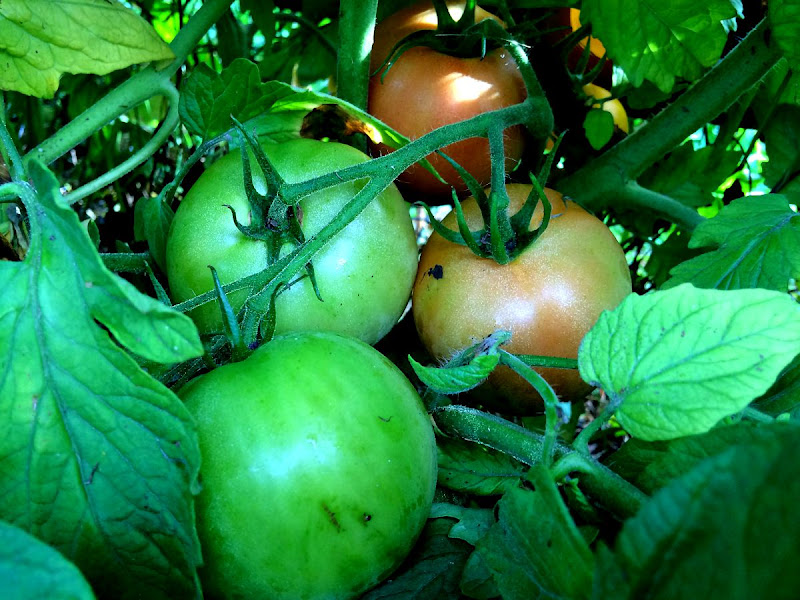
When hubby and I planted tomatoes in late May, I envisioned red, plump and juicy tomatoes that are perfect for homemade tomato sauce. We planted 4 varieties {big beef, better boy, cherry and grape} totaling to 9 plants. After 3 months of tender-loving -care and long hot sunny days, I have been harvesting baskets and baskets of these goodies.


While the cherry, grape and yellow pear cherry tomato plants are all bursting with ripe fruits, it took a while for the big beef and better boy to ripen on the vine. I followed some "tips for ripening tomatoes on the vine" I read in my gardening books. Here's what I learned : when tomatoes have reached full or nearly full size ....
  • Reduce watering
  • Keep the plant dry
  • Remove the plant's lower leaves
  • Pick small fruits
  • Pick excess fruits
  • Check plant daily

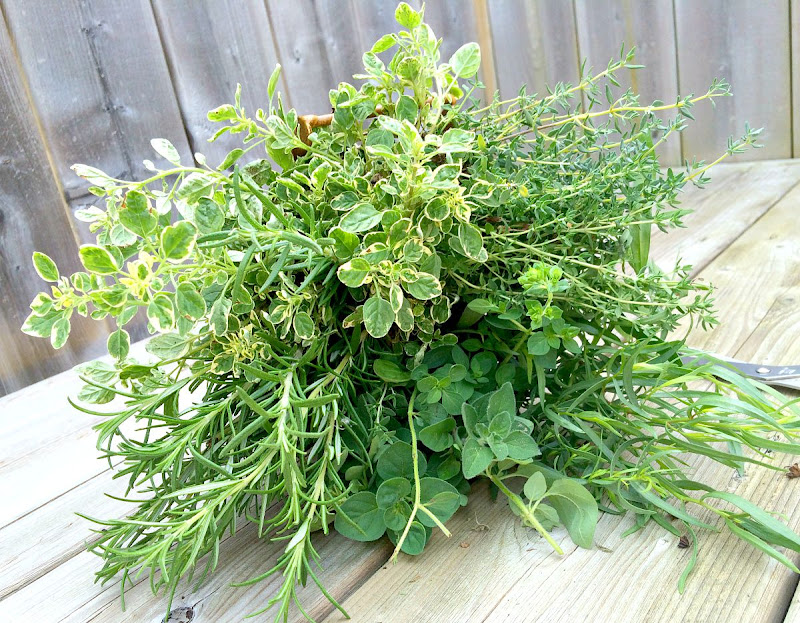
Then finally, the wait is over and wait was worth it! The tomatoes are sweet, plump and juicy as I imagined them to be! Now I am ready to make my homemade tomato sauce. After harvesting some tomatoes, I also gathered the other ingredients I need from our veggie garden like basil, oregano and parsley.

My recipe is easy but bursting {my favorite word for the day!} with flavour. Just remember the 4 steps:

Clean and cut tomatoes.


Boil tomatoes.

Strain tomatoes.


Saute and season tomatoes.
                                                                                                     
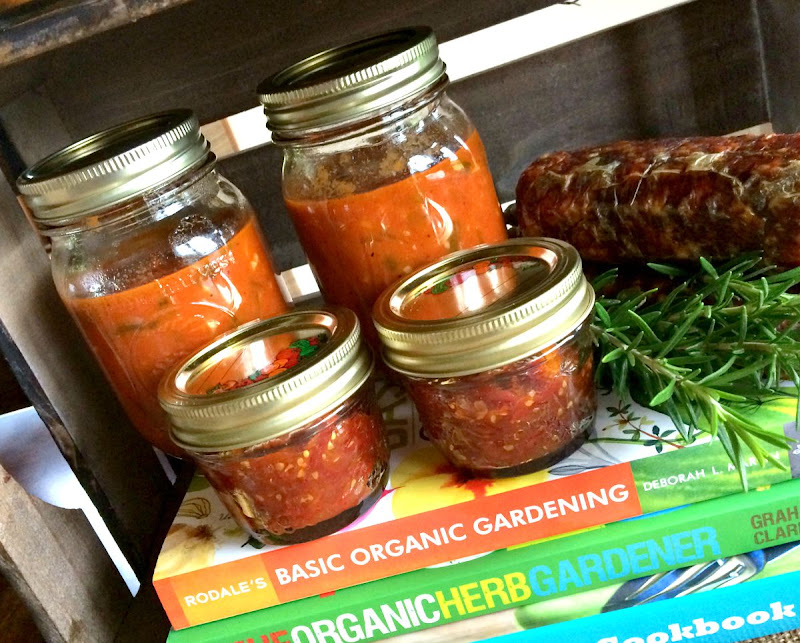
And viola! Even the most expensive canned tomatoes can't beat the freshness and flavour of homemade tomato sauce.


Basil and Garlic Tomato Sauce

Ingredients

15 big pieces of fresh tomatoes {I used big beef and better boy varieties
2 tbsp extra virgin olive oil
7 cloves garlic, crushed
1 tsp red pepper flakes {optional}
1/2 cup chopped fresh sweet basil
5 sprigs fresh oregano, stems removed
2 tbsp sugar {add more if needed}
salt and pepper

Procedure

Wash tomato and remove core
Cut tomatoes in quarters
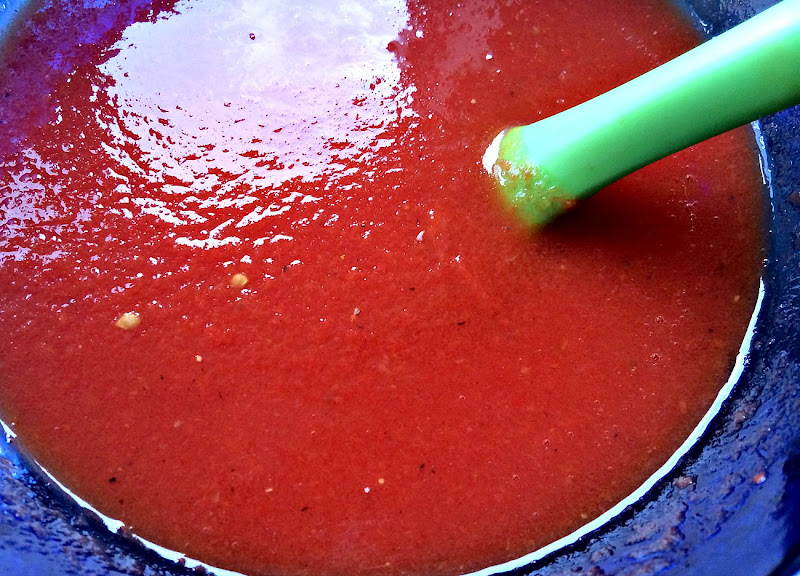
Place tomatoes in a large cooking pot and allow to boil over medium heat, about 20-30 minutes or until the tomatoes are reduced to a pulp. Stir frequently.
Using a big metal mesh strainer, strain the tomatoes to remove skin and seeds. Discard seeds and skin; set aside the tomato puree.
In the same pot were you boil the tomatoes, heat 2 tbsp olive oil.
Saute garlic and red pepper flakes.
Add the tomato puree and simmer for 20 minutes over medium heat.
Add basil and oregano.
Season with sugar, salt and pepper,
Simmer over low heat for another 20 minutes {or until your preferred consistency is achieved} while stirring frequently.
Serve sauce with your favorite pasta topped with Parmesan cheese and chopped parsley.

Note: when properly canned, this sauce can last for several months. You can also store the sauce in good quality zip lock bag and freeze.


Linking with :  Simple Saturdays  *  Saturday Sparks  *  Treasure Hunt Thursday  

Monday, September 7, 2015

MY Lens; HIS Words Monday


MY Lens :
An early morning shot of a sleeping cross spider in my meditation garden

HIS Words :
Psalm 141:9
Keep from the traps they have set for me,  from the snares of those who do wrong.


Tuesday, September 1, 2015

Saving Herbs for Winter Months {Drying and Freezing Herbs}


Oh, hello September!


Was it it only 2 and a half months ago when hubby and I planted herbs in our veggie garden {posted  here}? For the last month or so, I have been snipping fresh herbs from the garden as needed for this and that recipe. I have been pampered this way and I know some good things never last. So, I am preparing to prolong the goodness of my valued herbs for the coming winter months {which by the way is just around the corner if you live in the Great White North!}

Sharing with you how I do it here at Birdsong.


Harvesting Herbs for Drying and/or Freezing:


  • The peak time to harvest {then dry or freeze} herbs is right before the herb starts flowering. This is the time when the flavourful and aromatic oil content is at its highest level.
  • Harvest in mid morning or when the dew is dry to prevent molding.

Cleaning Herbs for Drying and/or Freezing


  • Make sure the herbs are free from dirt and insects {like this beautiful baby caterpillar} by either gently rinsing them but this process may also remove essential oil from the leaves so I prefer gently shaking each stem to remove impurities.

Drying Herbs:


  • Drying herbs can be done either by air dry {practical for herbs with low moisture content like rosemary, oregano, thyme and sage} or through food dehydrator or ordinary kitchen oven {best method for herbs with high moisture content like basil, tarragon and mint}.
  • I always resort to air drying by simply tying a piece of string to a bunch of the same herb and hanging them upside down in a warm room with good air ventilation/circulation. Avoid the kitchen because of the moisture generated in the room when cooking.
  • If the weather is not too hot and there is a enough breeze outside, I hang my herbs in a partly shaded area {direct sunlight will burn the leaves resulting to discoloration} for a good 3 hours then continue drying them inside the house for most part of the day.
  • Regularly check herbs for signs of mold or mildew.
  • It usually takes 3 weeks for my herbs to be completely dry and ready for storage.

Freezing Herbs:


  • Use plastic containers for easy removal of frozen herbs. I use ice cube tray and color coded containers for easy identification specially when I am freezing more than 2 herbs.

    • For thyme. I tie small bundle of sprigs together and put 2-3 bundles in each water filled container. I do this because when I use thyme in my recipe. I normally use a sprig or two.
    • For tarragon, I remove the leaves from the stem before placing them in water filled containers because that's the way I normally use them
    • For oregano, because I use them a lot like basil. I prefer to freeze them in water filled ice cube trays. 
    • Freeze  and thaw as needed!
    I like to have both dried and frozen herbs in the winter months There are just some recipes that truly calls for fresh herbs like omelettes, Margherita pizza or simply topping a dessert with fresh mint leaves. Dried herbs on the other hand have its own uses like when I'm making soup or braising beef, for example. Don't forget, dried herbs are 3 times more potent or flavourful than its fresh counterpart {example : 1 tablespoon of fresh oregano is equivalent to 1 teaspoon of dry oregano, since 3 teaspoons = 1 tablespoon}.

    PS : For those who are wondering what happened to the cute baby caterpillar I found on a mint leaf, I relocated it from the veggie garden {where I found it} to the flower garden where I hope it will transform into a beautiful butterfly one day!


    Thank you for visiting!


    Linking with : Simple Saturdays  *  Treasure Hunt Thursday  *  The Scoop  *  Homework  *  Wow Us Wednesday  *   Inspire me Monday  *  That DIY Party


    Related Posts Plugin for WordPress, Blogger...